Smartphone, like the iPhone, comes with a built-in camera, and naturally, people get infatuated with taking photos or selfies with their friends and family. But, deleting the photos is not easy as it looks especially when you want some free space on your iPhone. Here you can find three best methods to erase photos from iPhone.
Method-1: Erase iPhone photos with Image Capture
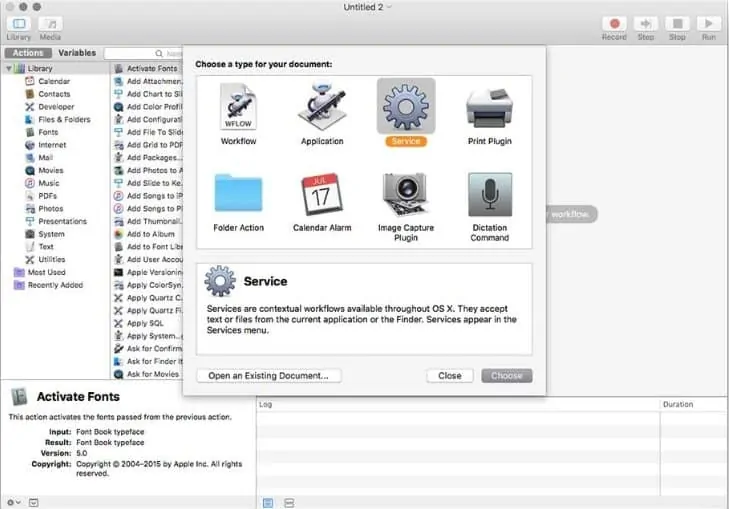
The best and simple way to erase all your photos from your iPhone all at a time, then you should connect your device to Mac. Use a proper cable to connect to your phone and install Image Capture, you can find the IC on in the Application folder. Now, you will get a window that shows all the pictures on your iPhone. Press the window and press ‘+A’ command to select all the photos, and now, press the delete button. It will warn you that photos will be removed permanently, then, again press the delete button. All the photos from your iPhone will be removed and you will have more space to take new ones. Image capture allows you to delete all the photos easily.
Method 2: Using SafeWiper to Erase iPhone Photos without Recovery
Step-1: Download and Install SafeWiper program:
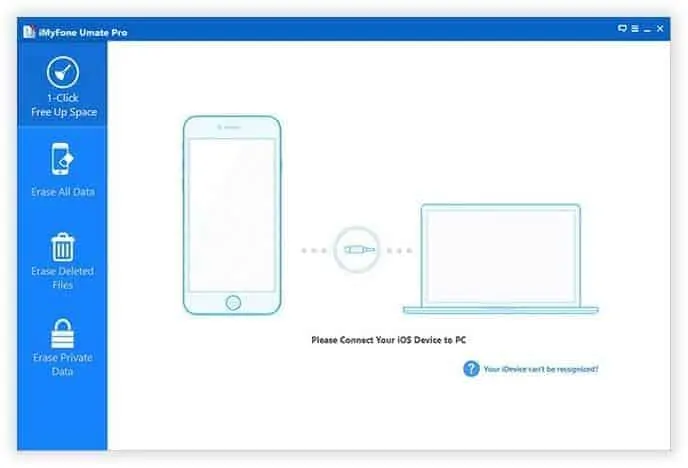
Download and Install SafeWiper program on your computer. Once the installation is done, the software will be launched, then connect your device to PC through Apple USB-cable, and wait till the device identified by the software. You will have four erasing options accessible, including “Erase Private Date,” “Express Cleanup,” “Erase all Data,” and “Erase Deleted File.” Each of these options works for a different reason.
Step-2: Choose Erasing Option and explore your iPhone:
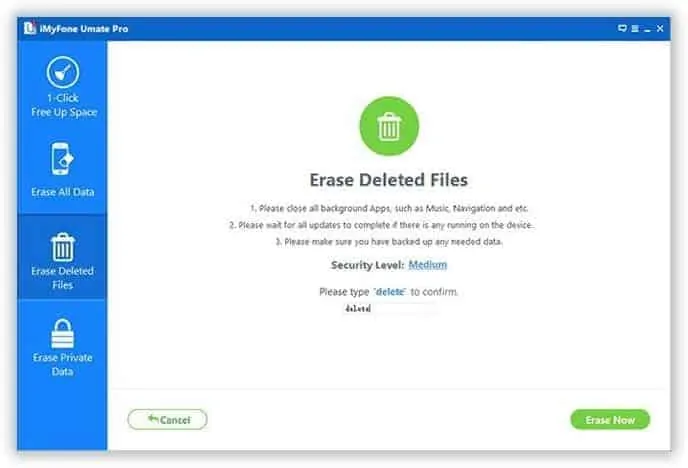
Simply deleting photos from your iPhone is not enough; you should erase them completely and permanently. Delete photos from your iPhone. The program begins to scan stored data on your iPhone and when you press delete data. It takes a couple of minutes to delete the entire data, and it also depends on how many files and data you stored on your device.
Step-3: Check the Scanned Result and Erase Photos Selectively
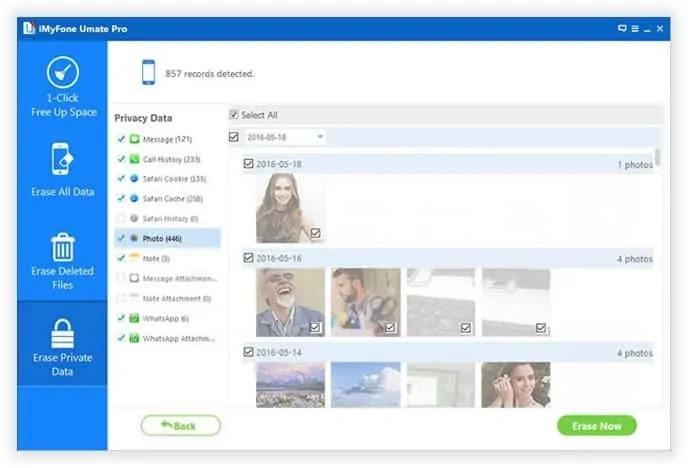
It will scan your device and this option allows you to view what data is still there on the device and make sure that the deleted files are not recoverable or accessible. It takes a couple of minutes to complete the task, and it also depends on the data size. Once it scans, you can check all the scanned data.
Step-4: Erasing iPhone Photos without Restore:
Next, to the data type, you see a box, and now click it, to erase type. If you want to delete all photos from your iPhone permanently, then select photos option. Once the photos are deleted from the device, you will get the data wiped window.
Once the process is finished, restart your device and now, you will have a lot of space on your device. The old data will be deleted completely and no data recovery software can get the deleted data back.
Method-3: Delete Photos from iPhone Manually
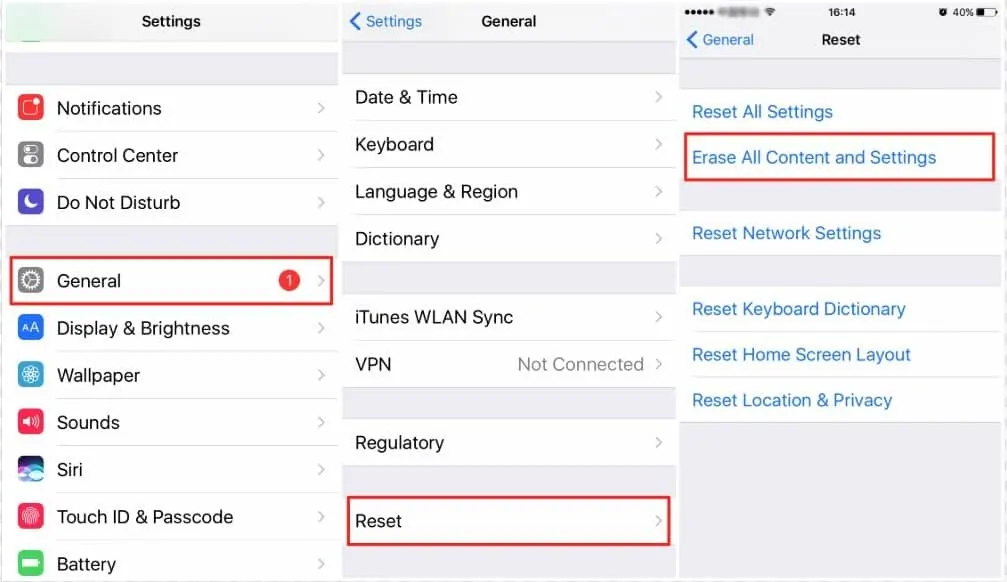
If you want to wipe everything on your iPhone. Now, go to settings, and choose ‘General’ under settings, select Reset and now, press erase all content. Though there is a swift way to remove photos from your device, you can erase photos professionally instead of erasing them one at a time.
Note :
As you can see, Methods 1 and 2 are both common , they can be done without any tools or software ,Of course, they also have some doubts , My friends have complained that this doesn’t completely erase any data from their iPhone ,That’s true , If you scan your iPhone with some data recovery tools, those deleted data will, of course, be recovered on iPhone , unless you use professional data eraser tool to erase them, such as the method 2 , You can read method 2 carefully ,as a professional data erasure tool , SafeWiper will be able to erase all the data on your phone without recovery possibility.






![How To Get The Most Out Of Cheap Internet? [Toronto Edition] - 15 How To Get The Most Out Of Cheap Internet? [Toronto Edition] - 15](https://cdn.igadgetsworld.com/news/wp-content/uploads/2022/03/thom-holmes-J2e34-1CVVs-unsplash-380x250.webp)
![6 Ways to Ensure an Android App [APK] is Safe to Download & Install - 16 6 Ways to Ensure an Android App [APK] is Safe to Download & Install - 16](https://cdn.igadgetsworld.com/news/wp-content/uploads/2019/03/Ensure-Android-Apps-are-Safe-to-Download-Install-380x250.webp)