Programming in Python: Setting up the Environment
In this tutorial, I’ll show you how to download and install the Python Interpreter. Also we will discuss about various ways of writing and executing a python program.
The Python Interpreter
In order to run your python programs, you need to install a particular kind of software called the Python Interpreter. An interpreter is a piece of code that translates the high level language instructions into machine language (also known as binary language) which is understandable by computer hardware. You can imagine the interpreter as layer of software that helps your code to communicate with the computer hardware. The Python Interpreter is available on it’s official website for free of cost.
Installing Python
If you are on Linux or MacOS, chances are that Python is pre-installed on your system. Most Linux distribution comes with preinstalled Python. In case it isn’t preinstalled, refer Further Reading section located at the end of this tutorial.
If you are on Windows, the following steps will show you how to install Python:
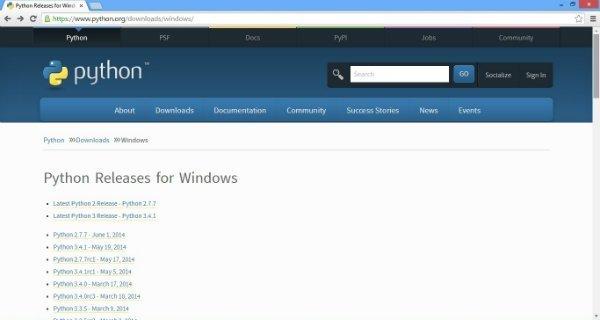
On your Browser, type https://www.python.org/downloads/windows/ (alternatively you can click on the link). The following page will open up
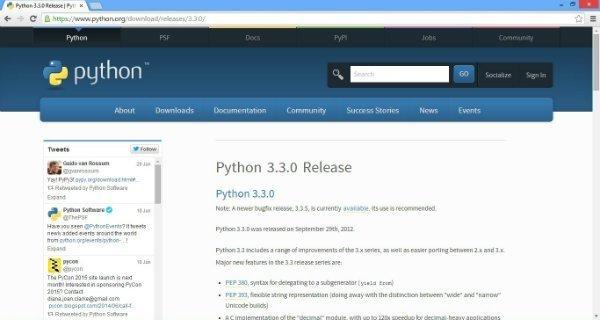
This page contains all Python packages that has been released till date. In this tutorial will use Python 3.3.0. So locate the package Python 3.3.0 – Sept. 29, 2012 and click on it. The following page opens up.
Scroll down a bit and you’ll see a Download section there. If you are using a 32-bit Operating System, click on Windows x86 MSI Installer (3.3.0) . If your Operating System is 64-bit, then click on Windows X86-64 MSI Installer (3.3.0) . Download prompt will appear. Save the file.
Alternatively you can click here for 32-bit version or click here for 64-bit version.
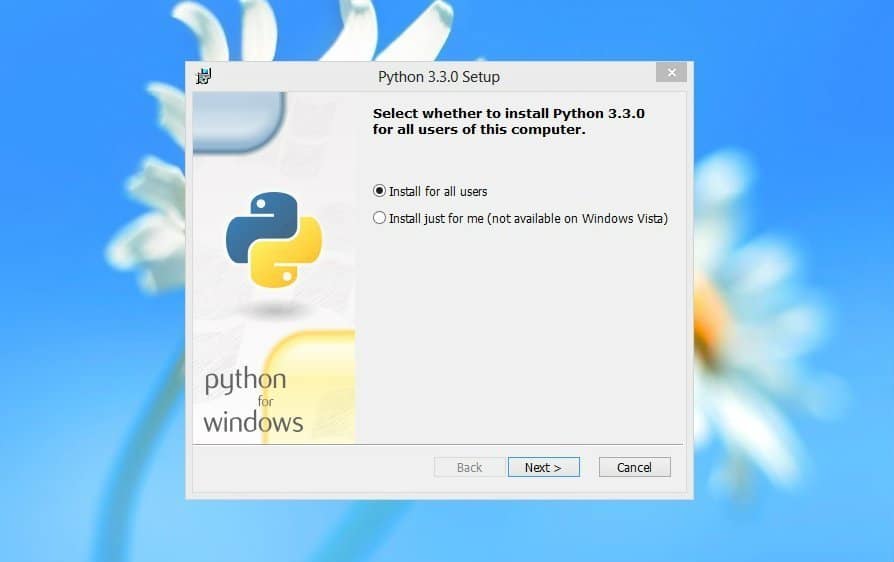
Now double click on the downloaded file to begin installation.
Click Next
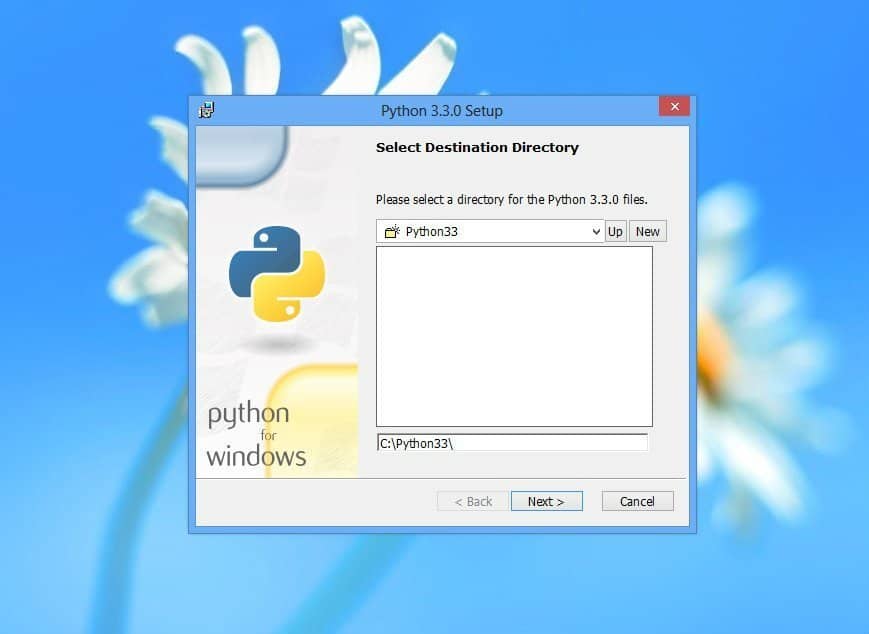
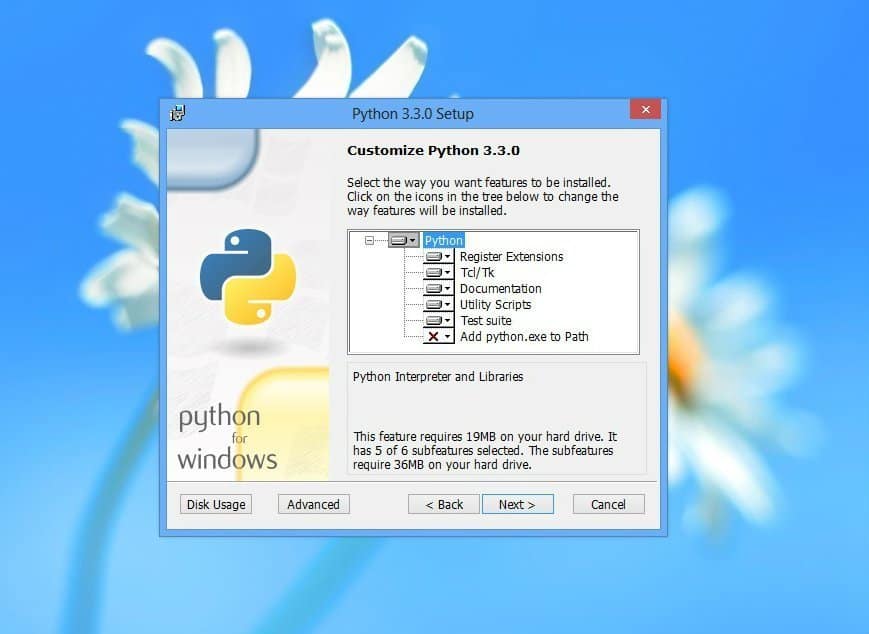
You can change the installation directory here. If you don’t know what to do, leave it as it is. Click Next
Click Next and Python Installation will begin. Wait till it finishes.
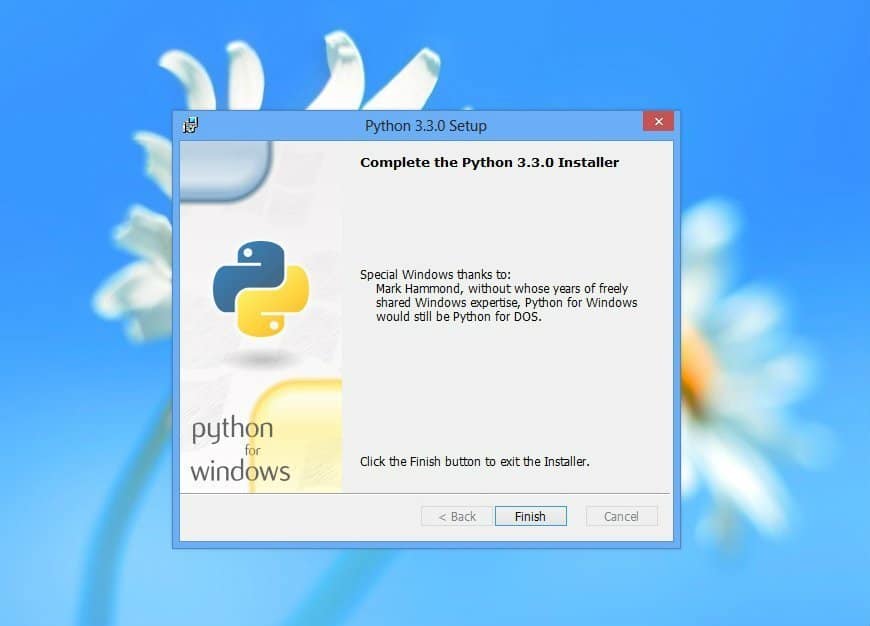
Click Finish
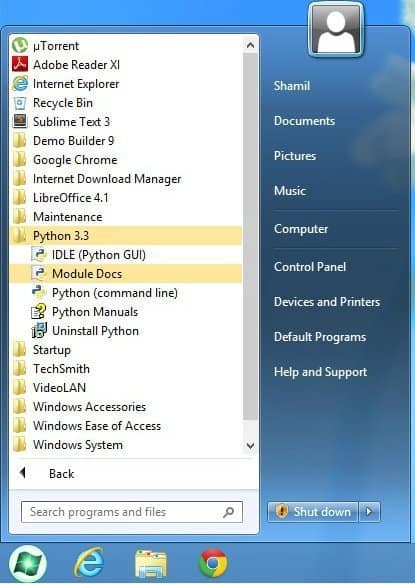
You can click on Start Menu and then on Python 3.3 , something like this will show up (this can very a little in different environment)
Clicking on IDLE (Python GUI) will start a Integrated Development Environment (IDE), Python (Command Line) starts an interactive prompt (refer next section for more), Module Docs is the Documentation Generator for Python and Python Manuals will show the standard manuals.
How to Run Python Programs?
There are various ways to run your Python programs. The most common way is to use the Python’s interactive command line, also known as interactive prompt. This interactive prompt allows us to interact with the Python interpreter from a command line. Valid Python commands can be entered line by line and tested.
But there is one major disadvantage though. Interactive prompt doesnot save the code you type and thus programs go away as soon as Python interpreter executes them. Because the code typed in Interactive prompt is never stored in a file, you can’t retrieve it later. This will be the biggest problem you face when you start writing larger programs that contain hundreds of lines of code.
This problem can be overcome by writing the code in modules. A modules is a text file that contains some valid Python statement. This can be done by using any Text Editor (e.g Notepad on Windows, gEdit on Ubuntu or TextMate in MacOS etc) or by usng an IDE (Integrated Development Environment) which contains all the features of a text editor along with advanced features like automatic code completion, GUI builder, syntax checking etc. Some examples of IDE are IDLE (automatically get installed when you install Python), Komodo Edit, Ninja IDE, PyDev etc.
I always prefer using IDE to a Text Editor (believe me, this is more a personal choice). In this tutorial we will use one free and open source IDE, PyScripter. To download and install this IDE, follow these steps:
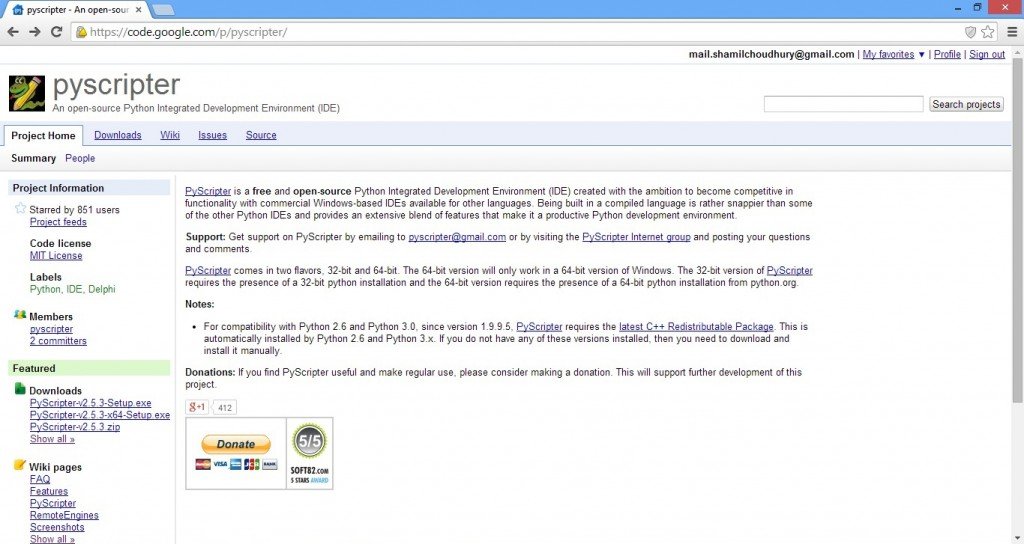
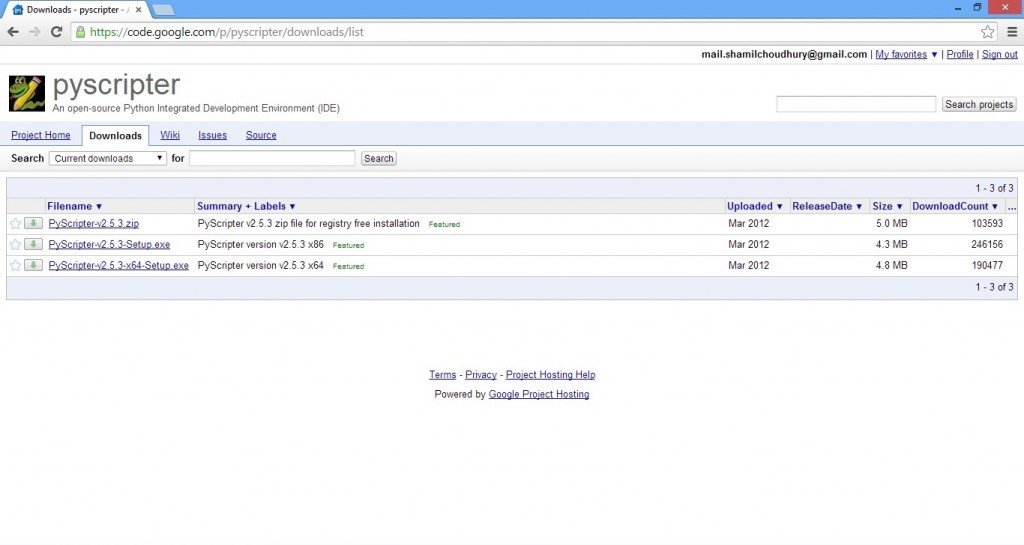
Open up your Browser and go to (alternative just click on this link) https://code.google.com/p/pyscripter/
Now click on PyScripter-v2.5.3-Setup.exe for the 32-bit version or on PyScripter-v2.5.3-x64-Setup.exe for the 64-bit version. On the next page, click on the file name again to download the required file.
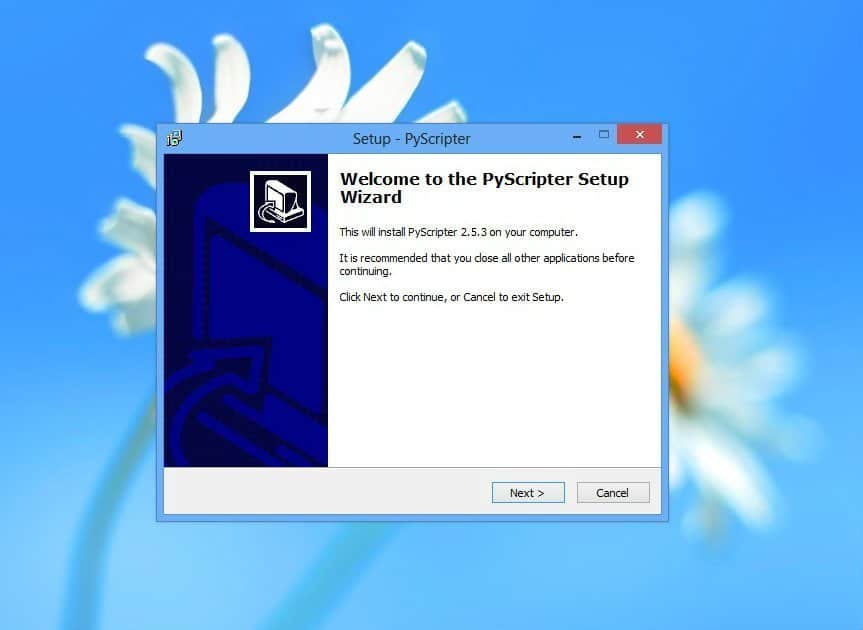
Once your download has completed, locate the file on your computer and double click on it to initiate the installation.
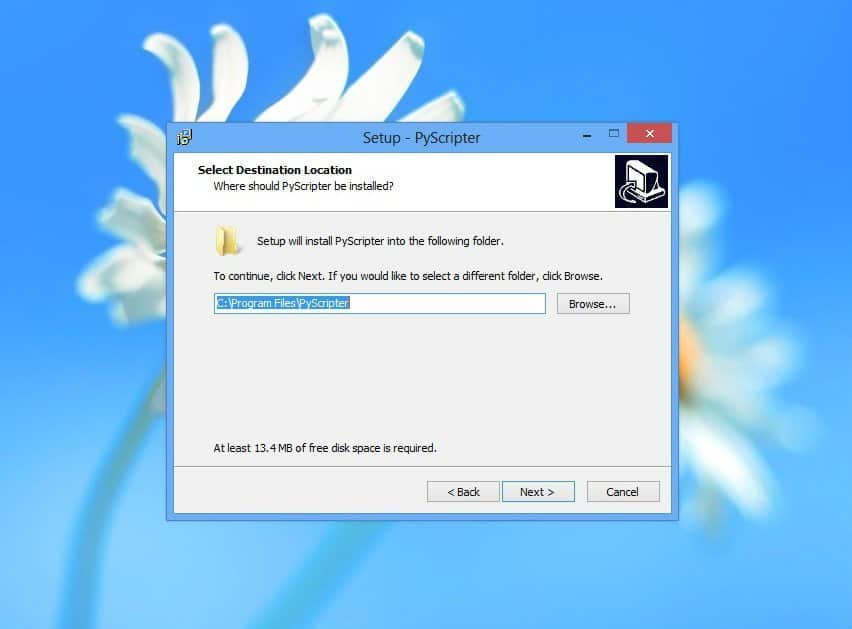 Select the location of installation. If you do not know where to install, leave it default. Click Next
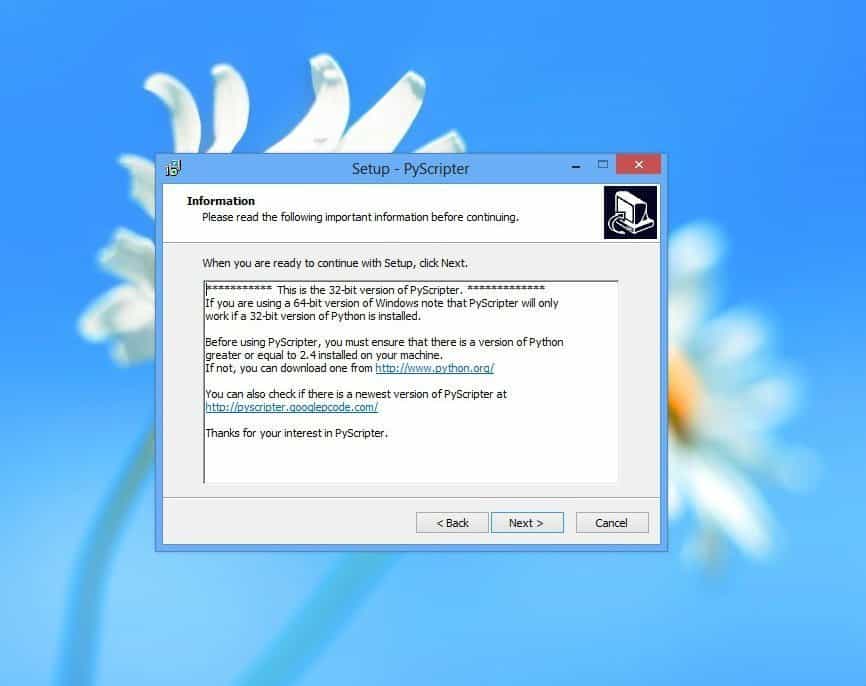
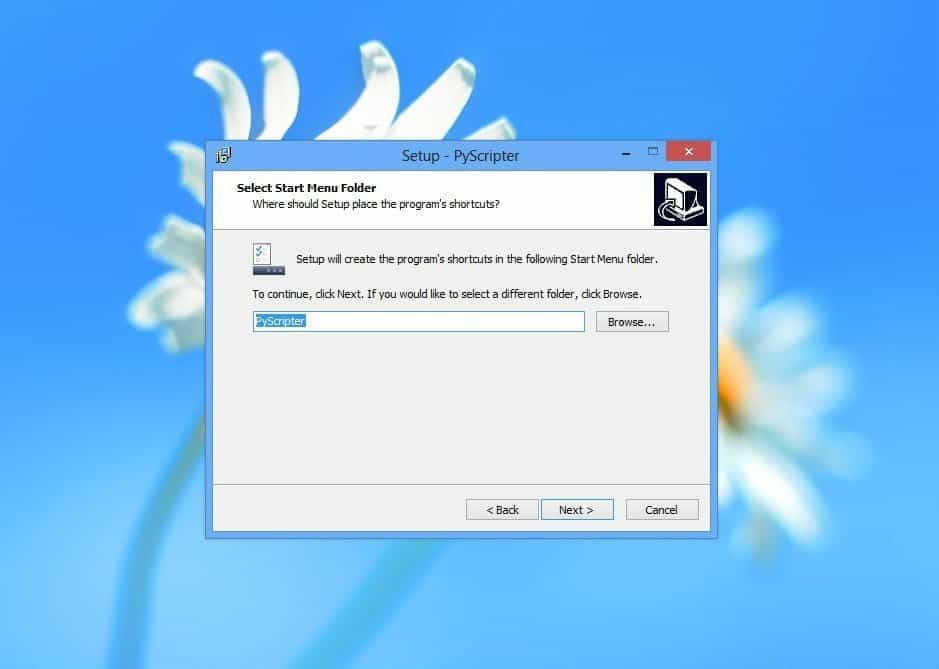 Select the start menu folder for program short-cuts. Once again leave it as it is and Click Next
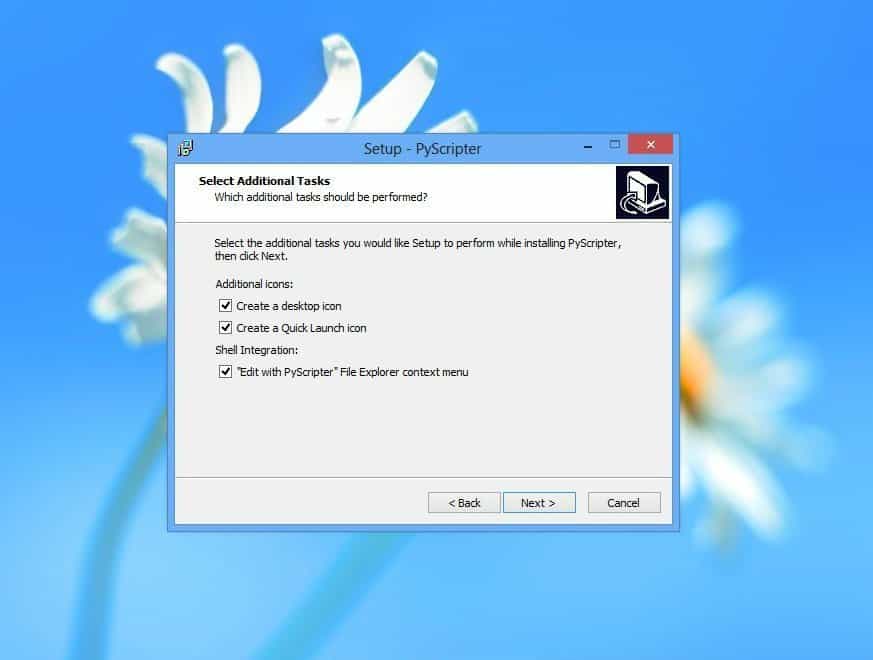 Check all the boxes and click Next
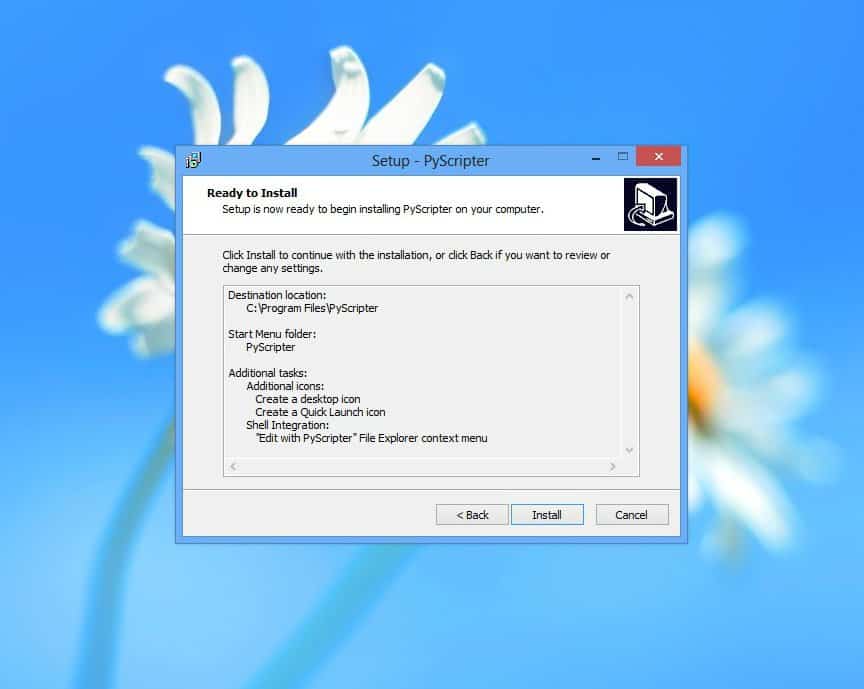 Click Install. Wait a bit and once the installation finishes, click Next, uncheck Launch PyScripter and then click Finish
That’s it! We have installed Python Interpreter and also an IDE. Now that we are ready to code, lets move on the next tutorial.
Further Reading:
For Python Installation help on Unix platforms, click here
Text Editor vs IDE – Which one to use? Click here to know more.


