[Root Moto X 5.1] Moto X (2013) 1st Generation has recently received its latest Android 5.1 update. After updating Moto X from 4.4.4 to 5.1, it has been a very difficult task, in rooting the Moto X running on Android 5.1. but now we are providing the Step by step process for rooting Moto X running on Android 5.1 as we successfully rooted it.
NOTE TO READERS:
We’re getting many comments as many of the users are facing issues while rooting and it’s hard to answer each and every comment as the Editors team are on leave & got into full-time job, so kindly please mail to us with subject line: “moto x 5.1 root” and add relevant images + proper description of your problem, the team will get back to you in less than 24 Hours.
Before rooting Moto X, it is necessary to unlock the bootloader. It is good to maintain the toolkit for Moto X, which has all the tools, that will be helpful in unlocking the Moto X bootloader and rooting of Moto X, running on android 5.1. The toolkit is available in this post. Click here
BASIC REQUIREMENTS FOR ROOTING MOTO X 2013 RUNNING ON ANDROID 5.1:
- Download the package of Motorola USB drivers, ADB, fast boot, mfastboot, and recovery drivers. This is the one place, where you will get all the necessary drivers needed for your Moto X. The download package is developed and provided by “Elemental Designs”.
Mirror link: ElementalXDesigns-MotoX-Tools-v2.zip
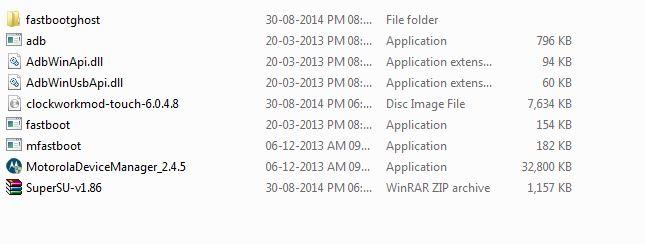
- After downloading the package, extract all the files into a single folder and name the folder as “MotoX”. Except SuperSu 1.86 for Moto X and Fastbootghost, you can see remaining files been extracted into the folder “MotoX”. Check the screenshot below for better understanding.

- Sometimes, when you connect Moto X in fastboot mode, Windows 7,8 may not install the drivers for fastboot mode. If the installation of drivers for fastboot mode fails for Moto X, then it is necessary to download “Fastbootghost” drivers, which has to be installed manually from device manager, find “fastbootghost”, right click, install the driver manually and select the folder downloaded folder and install it. Download Fastbootghost for Moto X here.
- Once you are done with installing of “Motorola device manager” and “fastbootghost”, now it is necessary to activate “Debugging mode” in Moto X. Developer mode can be enabled in Moto X by clicking “Build number” three times. This activates the developer mode and checks the “debugging mode” to start the Moto X 5.1 rooting process.
How to Root Moto X 1st GEN RUNNING ON ANDROID 5.1
- Soon after unlocking the bootloader, it is necessary to flash the Custom recovery into the root of the Moto X. Download twrp-2.8.6.0-ghost.
- Copy the file ” twrp-2.8.6.0-ghost.img” into the folder, which you created while extracting the Moto X tools. For more info read more
- Go to the folder you created and by clicking the shift key, right click and select Open command window here. It opens the command prompt. In the command prompt enter the following command: adb reboot bootloader.
- The above command reboots your device into fastboot mode. Soon the device restarts into the fastbootmode, drivers start installing automatically. If fastbootmode drivers installation fails, download “fastbootghost drivers“ from above link and install them manually from device manager.
- The other method to run your phone in fast boot mode is to shut down your device. Press vol down+power for about 5secs and release it to enter into Fastboot mode.
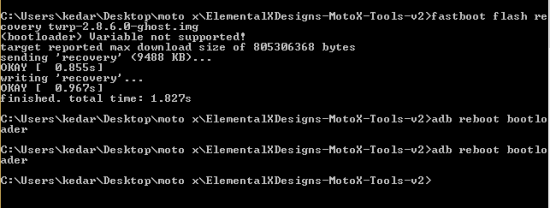
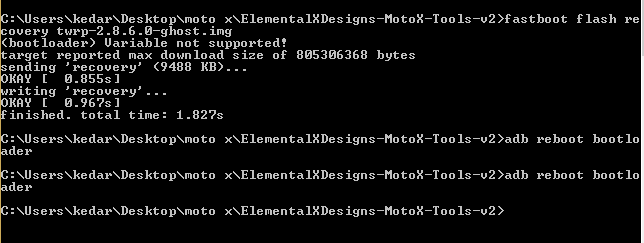
- Once you enter into the fastboot mode, type “fastboot flash recovery twrp.img” and this flashes the custom recovery into your Moto X running on Android 5.1.
- Go to recovery on your device by pressing vol down and select it by pressing vol up.
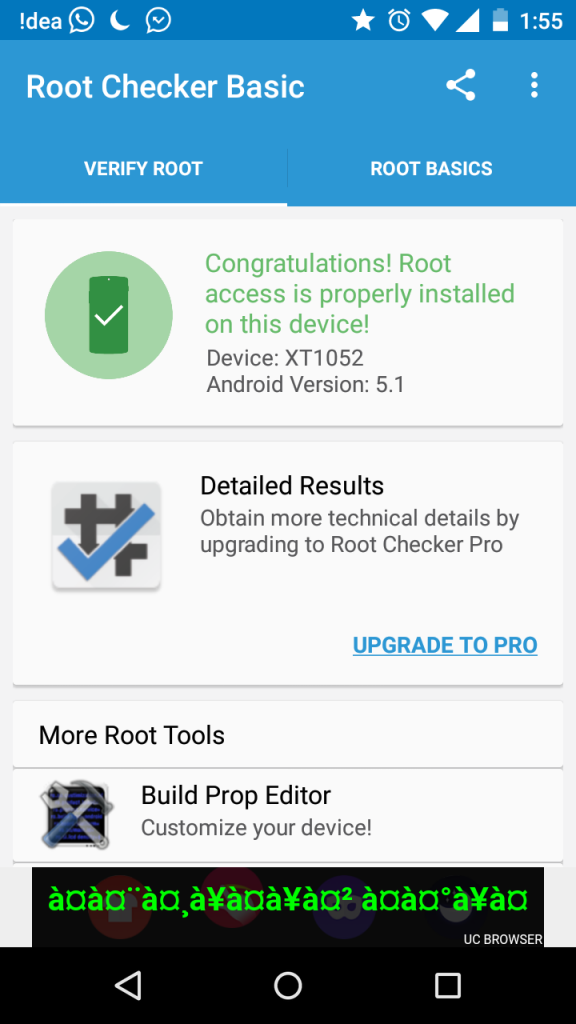
- Go to reboot and select system. Swipe to install SuperSu. Now restart your phone and you will get an option asking to install SuperSu. Please update it using the twrp mode. Once the flashing is done, now your phone Moto X first generation is now successfully rooted.


