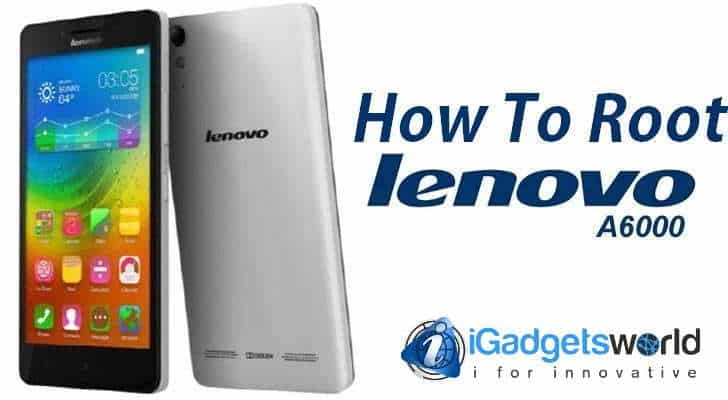
Lenovo recently launched its latest device- the Lenovo A6000 and the flash sales are rocking in FlipKart. It is currently one of the best budget 4G smartphones in India. The device features a 5-inch screen IPS display with a 720×1280 pixel resolution. It is powered by a 1.2 GHz Snapdragon 410 quad-core processor with a Adreno 306 GPU and it also has 1GB of RAM. This 4G smartphone boasts a 8 MegaPixel camera along with a 2 MegaPixel front facing camera. It has Dual-Sim capabilities & runs on Android 4.4 KitKat, priced at 8,249 INR.

Being another Android device, the device can be successfully exploited and rooted. Rooting is a basic process of obtaining privileged control to Android’s subsystem which is further needed by many applications to perform their various mods. Although it is true that one voids the warranty of the device when they root it, but you can get back the warranty by installing the Stock ROM of your device and get your device as it was when you first switched it on. Let’s head to the rooting procedure now.
PRE-REQUISITES :-
1) A Lenovo A6000 running on Andoid v4.4 (KitKat)
2) A Computer running Windows with proper USB Drivers installed for Lenovo A6000
3) You need to download the following files before proceeding ahead:-
- ADB and Fastboot (source: Xda-developers)
- Custom Recovery for A6000
- SuperSU
Also , your device should have atleast 75% + battery and enable USB Debugging by going into Settings>About Phone>Tap the build number 4-5 times and That Will Enable Developer Settings and now go in Developer settings in which you need to find and enable USB Debugging.
HOW TO ROOT LENOVO A6000 smartphone?
1) Copy the SuperSU file to your device’s SD card and make sure it is not inside any folder.
2) Download and install the ADB and Fastboot tool on your computer.
3) Copy the downloaded recovery file and paste it inside
[pull_quote_center]C:Program Files (x86)Minimal ADB and Fastboot (or)
C:Program Files Minimal ADB and Fastboot directory.
[/pull_quote_center]4)Connect your Lenovo A6000 to your computer via USB cable.
5)Open the C:Program Files (x86)Minimal ADB and Fastboot directory and open the terminal there by pressing and holding shift key and then right click anywhere in folder at empty space and choose open command window here from the pop-up menu.
6)Now type the following command in the terminal without the inverted commas.
“adb devices”
7)If your serial number of your devices shows up then it is connected else you need to re-install drivers and try again.
8)Now type the following command in terminal to reboot in fastboot mode and type without the inverted commas.
“adb reboot bootloader”
9)Now type the following command in terminal to reboot into recovery and type without the inverted commas.
“fastboot boot recovery.img”
10)The phone will be in recovery mode. Locate the SuperSU file via recovery and install it and then return to main menu and choose reboot.
Congratulations, you have successfully rooted your Lenovo A6000. You can also install BusyBox in your phone by downloading and installing the following app from playstore.
Run the app and choose Install and Reboot. It is not compulsory to install, but it is recommended.


